Server Bootstrap
Management Router Bootstrap
The Management Router is bootstrapped into a customized version of the standard Ubuntu 18.04 OS installer.
The iPXE boot firmware. is used to start this process and is built using the steps detailed in the ipxe-build. repo, which generates both USB and PXE chainloadable boot images.
Once a system has been started using these images started, these images will download a customized script from an external webserver to continue the boot process. This iPXE to webserver connection is secured with mutual TLS authentication, enforced by the nginx webserver.
The iPXE scripts are created by the pxeboot role, which creates both a boot menu, downloads the appropriate binaries for bootstrapping an OS installation, and creates per-node installation preseed files.
The preseed files contain configuration steps to install the OS from the
upstream Ubuntu repos, as well as customization of packages and creating the
onfadmin user.
Creating a bootable USB drive
Get a USB key. Can be tiny as the uncompressed image is floppy sized (1.4MB). Download the USB image file (
<date>_onf_ipxe.usb.zip) on the system you’re using to write the USB key, and unzip it.Put a USB key in the system you’re using to create the USB key, then determine which USB device file it’s at in
/dev. You might look at the end of thedmesgoutput on Linux/Unix or the output ofdiskutil liston macOS.Be very careful about this, as if you accidentally overwrite some other disk in your system that would be highly problematic.
Write the image to the device:
$ dd if=/path/to/20201116_onf_ipxe.usb of=/dev/sdg
2752+0 records in
2752+0 records out
1409024 bytes (1.4 MB, 1.3 MiB) copied, 2.0272 s, 695 kB/s
You may need to use sudo for this.
Boot and Image management router
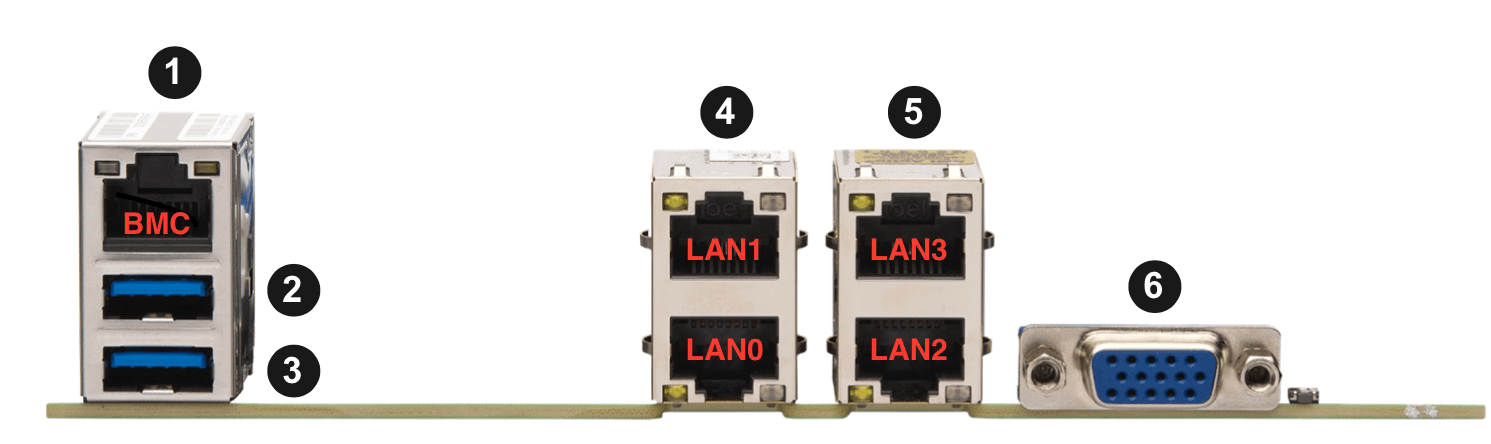
Connect a USB keyboard and VGA monitor to the management node. Put the USB Key in one of the management node’s USB ports (port 2 or 3):
Turn on the management node, and press the F11 key as it starts to get into the Boot Menu:
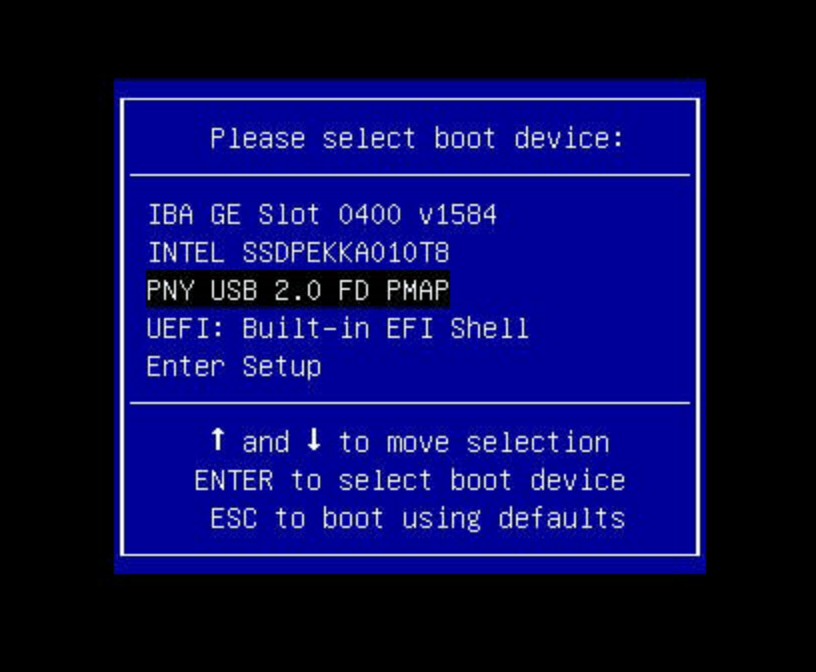
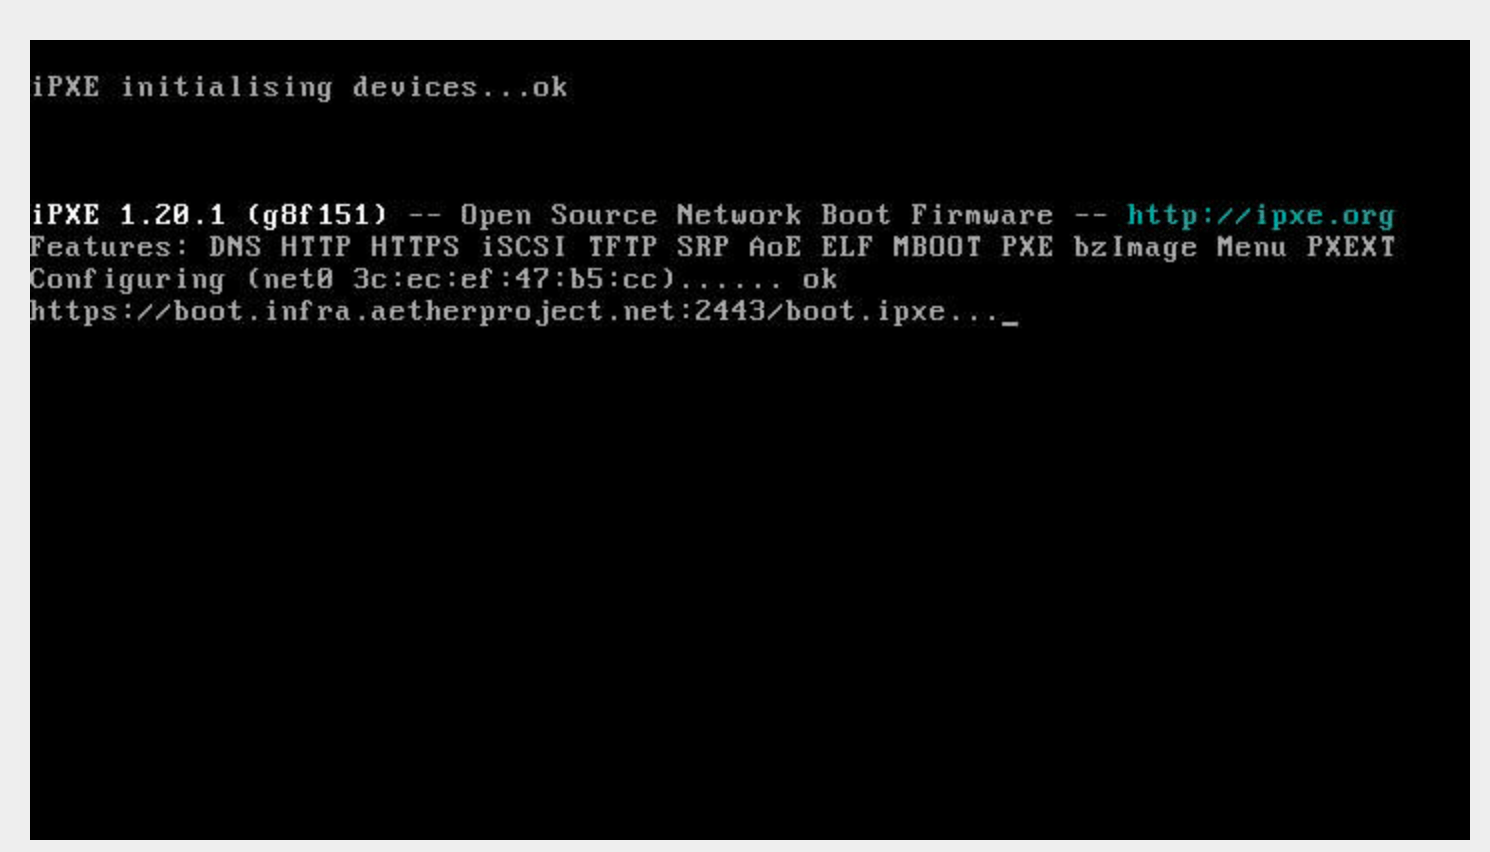
Select the USB key (in this case “PNY USB 2.0”, your options may vary) and press return. You should see iPXE load:
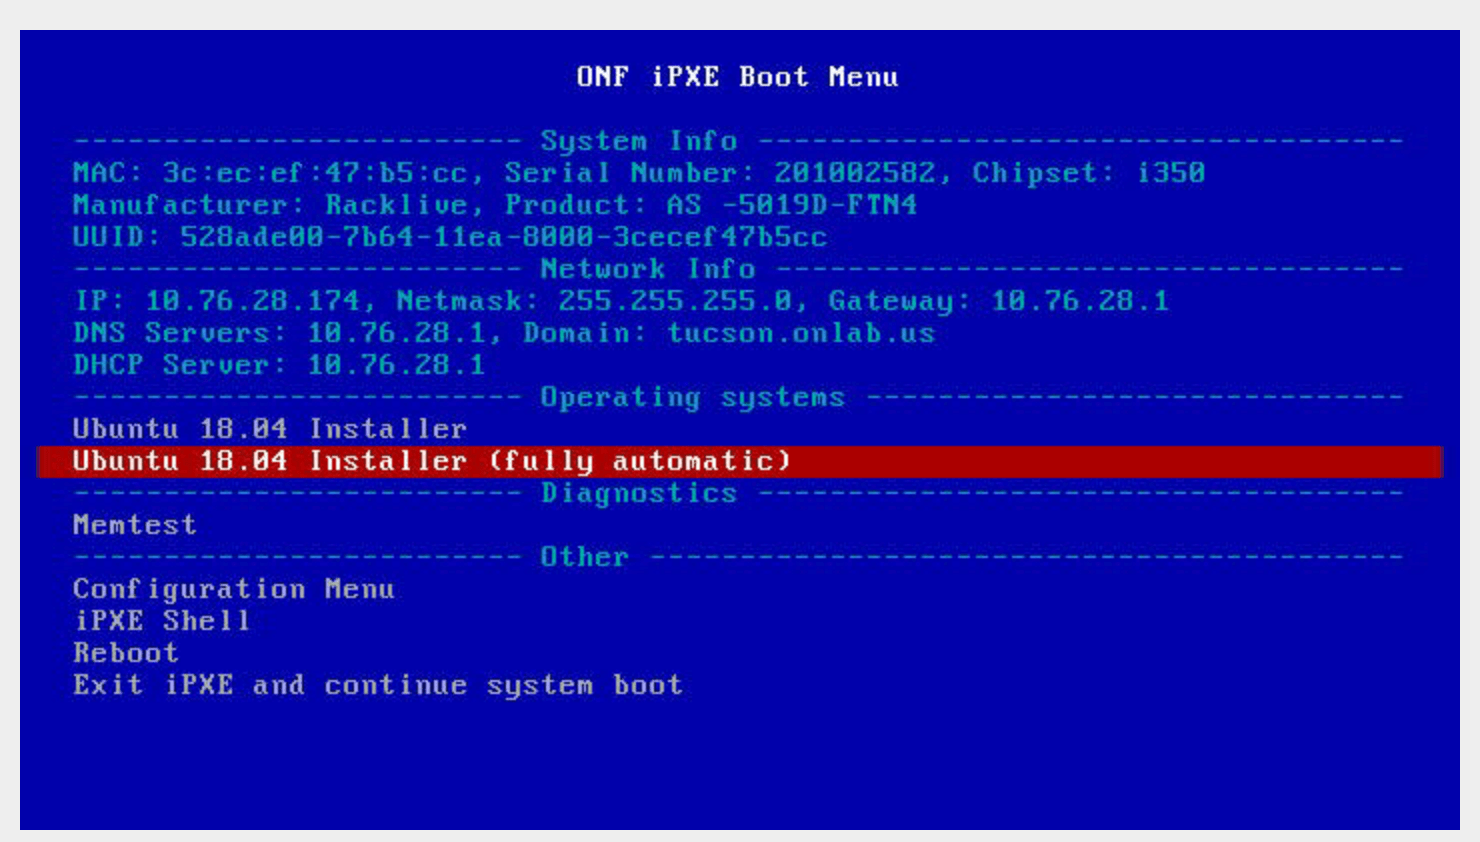
A menu will appear which displays the system information and DHCP discovered network settings (your network must provide the IP address to the management server via DHCP):
Use the arrow keys to select “Ubuntu 18.04 Installer (fully automatic)”:
There is a 10 second default timeout if left untouched (it will continue the system boot process) so restart the system if you miss the 10 second window.
The Ubuntu 18.04 installer will be downloaded and booted:
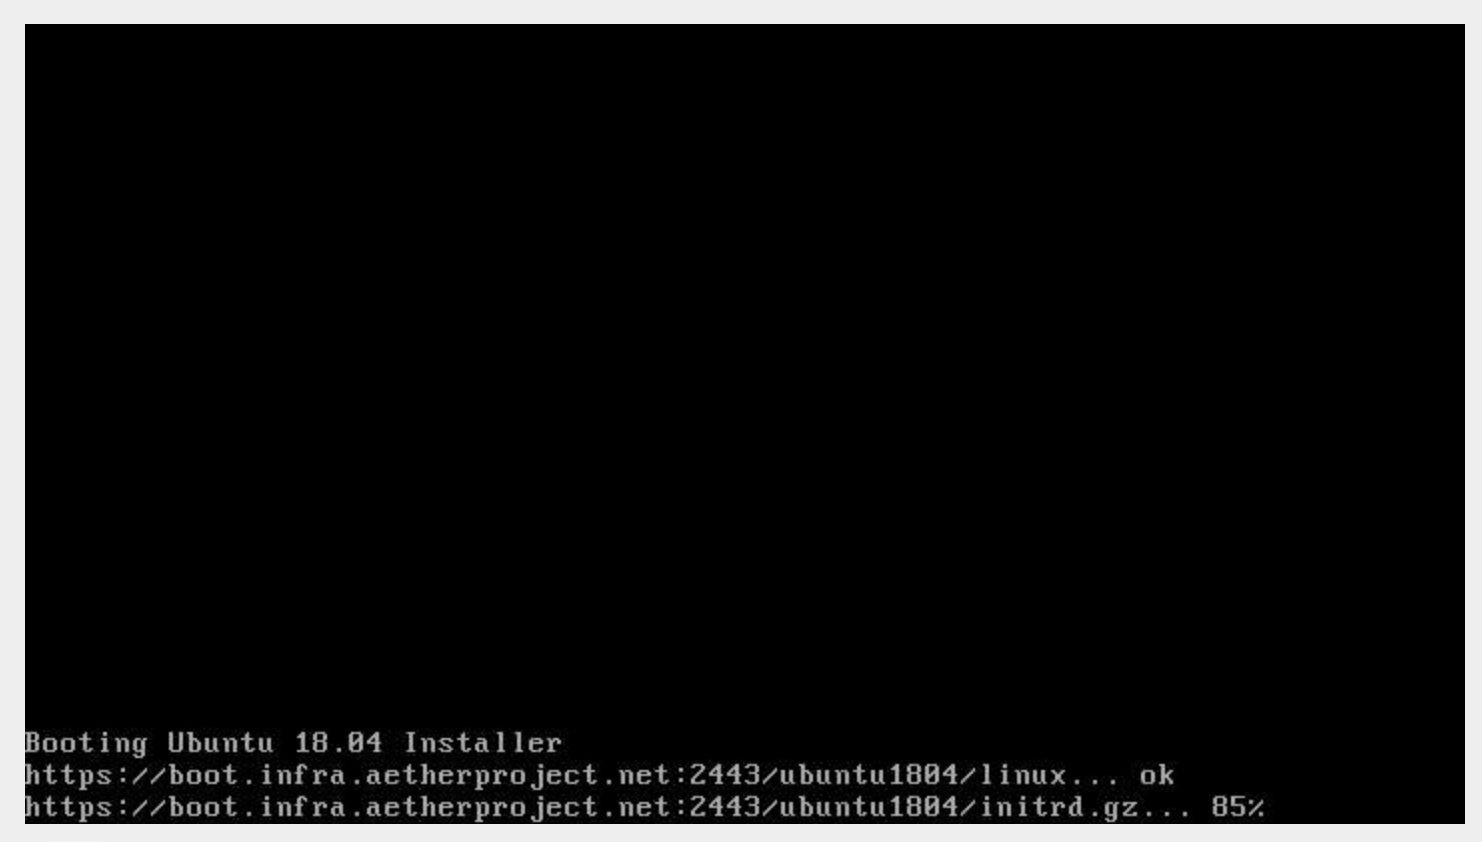
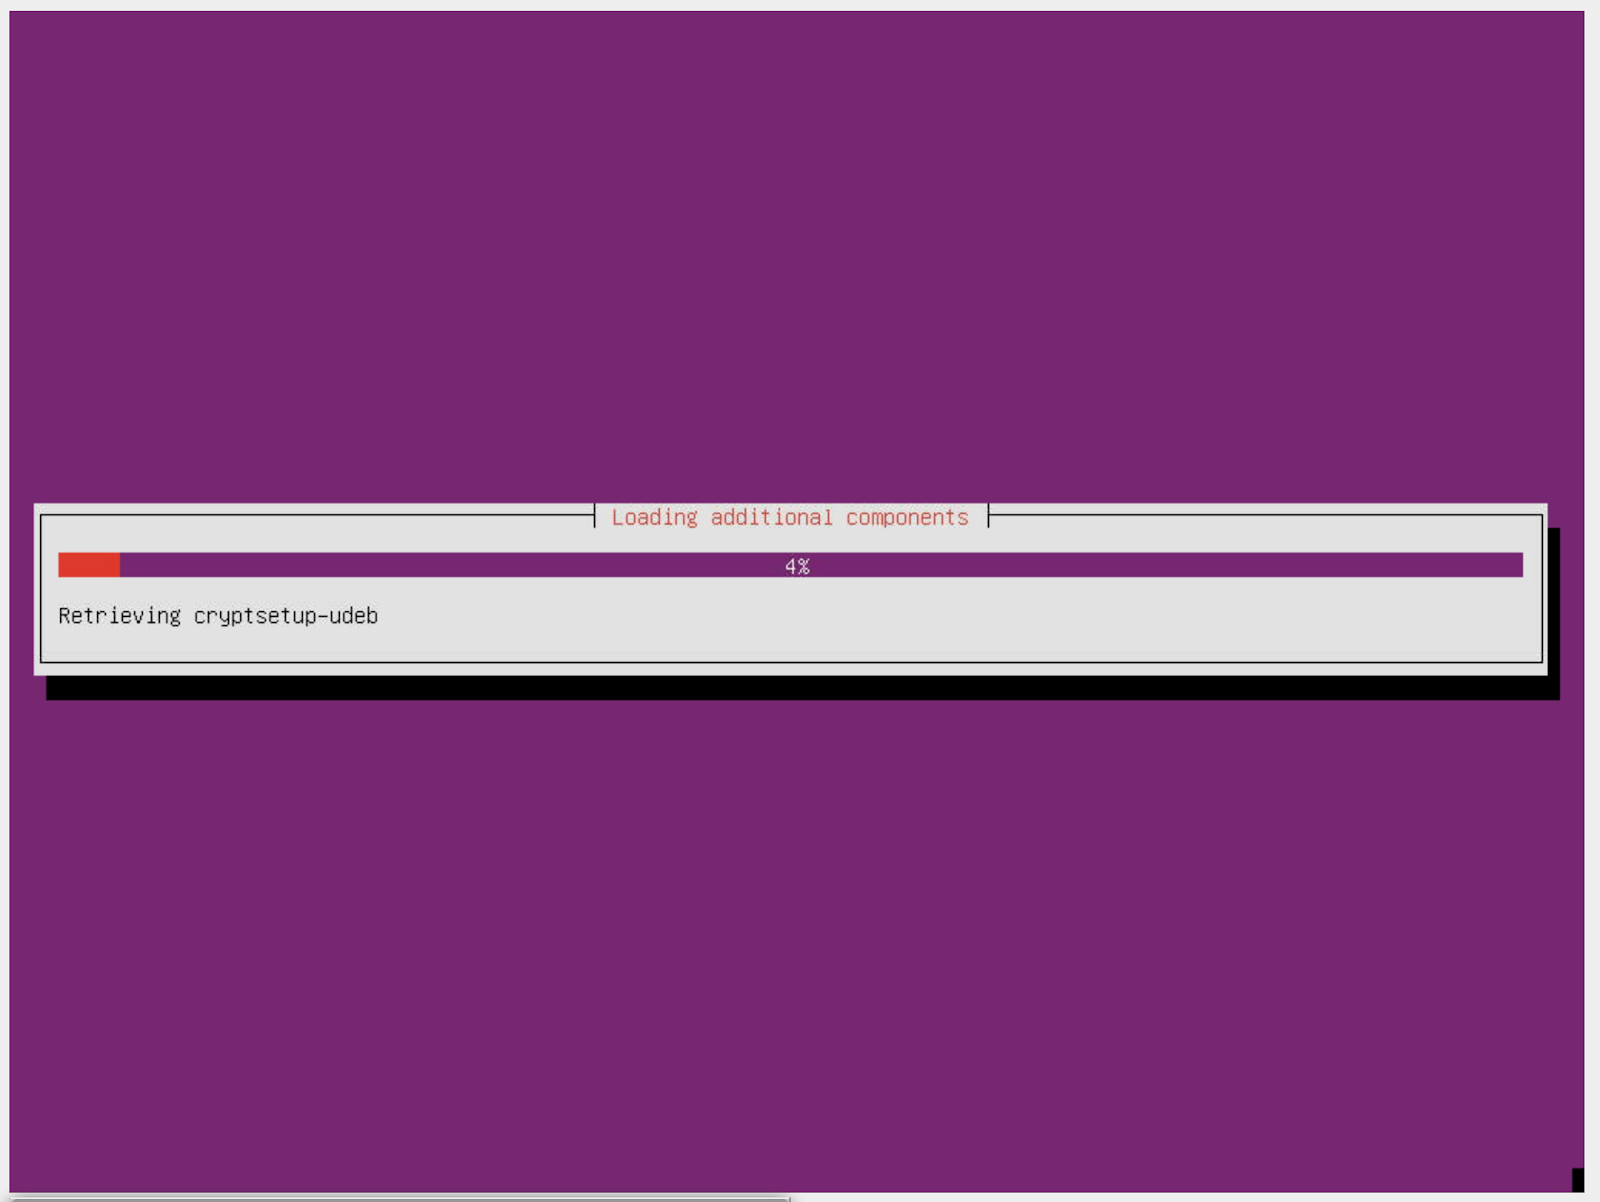
Then the installer starts and takes around 10 minutes to install (depends on your connection speed):
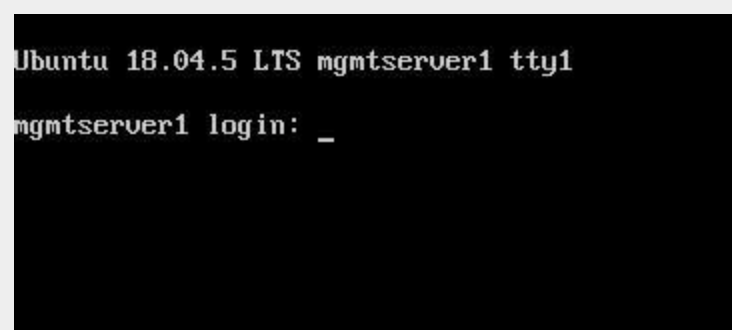
At the end of the install, the system will restart and present you with a login prompt:
management router Configuration
Once the OS is installed on the management router, Ansible is used to remotely install software on the management router.
To checkout the ONF ansible repo and enter the virtualenv with the tooling:
mkdir infra
cd infra
repo init -u ssh://<your gerrit username>@gerrit.opencord.org:29418/infra-manifest
repo sync
cd ansible
make galaxy
source venv_onfansible/bin/activate
Obtain the undionly.kpxe iPXE artifact for bootstrapping the compute
servers, and put it in the playbook/files directory.
Next, create an inventory file to access the NetBox API. An example is given
in inventory/example-netbox.yml - duplicate this file and modify it. Fill
in the api_endpoint address and token with an API key you get out of
the NetBox instance. List the IP Prefixes used by the site in the
ip_prefixes list.
Next, run the scripts/edgeconfig.py to generate a host variables file in
inventory/host_vars/<device name>.yaml for the management router and other
compute servers.:
python scripts/edgeconfig.py inventory/staging-netbox.yml
The script will use the Tenant as the key to lookup data, and write the configuration files for each host. These configuration files will only be generated for device roles Router and Server.
In the case of the Fabric that has two leaves and IP ranges, add the Management server IP address used for the leaf that it is connected to, and then add a route for the other IP address range for the non-Management-connected leaf that is via the Fabric router address in the connected leaf range.
Using the inventory/example-aether.ini as a template, create an
ansible inventory file for the
site. Change the device names, IP addresses, and onfadmin password to match
the ones for this site. The management router’s configuration is in the
[aethermgmt] and corresponding [aethermgmt:vars] section.
Then, to configure a management router, run:
ansible-playbook -i inventory/sitename.ini playbooks/aethermgmt-playbook.yml
This installs software with the following functionality:
VLANs on second Ethernet port to provide connectivity to the rest of the pod.
Firewall with NAT for routing traffic
DHCP and TFTP for bootstrapping servers and switches
DNS for host naming and identification
HTTP server for serving files used for bootstrapping switches
Downloads the Tofino switch image
Creates user accounts for administrative access
Compute Server Bootstrap
Once the management router has finished installation, it will be set to offer the same iPXE bootstrap file to the computer.
Each node will be booted, and when iPXE loads select the Ubuntu 18.04
Installer (fully automatic) option.
The nodes can be controlled remotely via their BMC management interfaces - if
the BMC is at 10.0.0.3 a remote user can SSH into them with:
ssh -L 2443:10.0.0.3:443 onfadmin@<mgmt server ip>
And then use their web browser to access the BMC at:
https://localhost:2443
The default BMC credentials for the Pronto nodes are:
login: ADMIN
password: Admin123
The BMC will also list all of the MAC addresses for the network interfaces (including BMC) that are built into the logic board of the system. Add-in network cards like the 40GbE ones used in compute servers aren’t listed.
To prepare the compute nodes, software must be installed on them. As they can’t be accessed directly from your local system, a jump host configuration is added, so the SSH connection goes through the management router to the compute systems behind it. Doing this requires a few steps:
First, configure SSH to use Agent forwarding - create or edit your
~/.ssh/config file and add the following lines:
Host <management router IP>
  ForwardAgent yes
Then try to login to the management router, then the compute node:
$ ssh onfadmin@<management router IP>
Welcome to Ubuntu 18.04.5 LTS (GNU/Linux 5.4.0-54-generic x86_64)
...
onfadmin@mgmtserver1:~$ ssh onfadmin@10.0.0.138
Welcome to Ubuntu 18.04.5 LTS (GNU/Linux 5.4.0-54-generic x86_64)
...
onfadmin@node2:~$
Being able to login to the compute nodes from the management node means that SSH Agent forwarding is working correctly.
Verify that your inventory (Created earlier from the
inventory/example-aether.ini file) includes an [aethercompute] section
that has all the names and IP addresses of the compute nodes in it.
Then run a ping test:
ansible -i inventory/sitename.ini -m ping aethercompute
It may ask you about authorized keys - answer yes for each host to trust the keys:
The authenticity of host '10.0.0.138 (<no hostip for proxy command>)' can't be established.
ECDSA key fingerprint is SHA256:...
Are you sure you want to continue connecting (yes/no/[fingerprint])? yes
You should then see a success message for each host:
node1.stage1.menlo | SUCCESS => {
    "changed": false,
    "ping": "pong"
}
node2.stage1.menlo | SUCCESS => {
    "changed": false,
    "ping": "pong"
}
...
Once you’ve seen this, run the playbook to install the prerequisites (Terraform user, Docker):
ansible-playbook -i inventory/sitename.ini playbooks/aethercompute-playbook.yml
Note that Docker is quite large and may take a few minutes for installation depending on internet connectivity.
Now that these compute nodes have been brought up, the rest of the installation can continue.